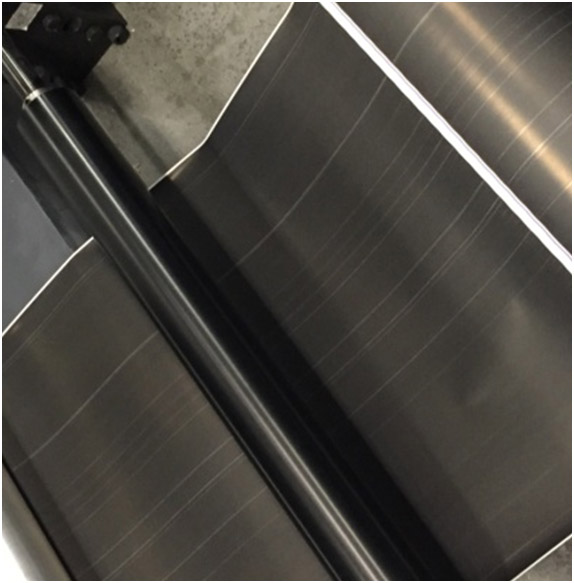
Like all mechanical printing technologies, inkjet requires maintenance. We often forget that ink and dust build up that happens with conventional printing and toner units can also impact inkjet equipment. Inkjet is considered a wet on wet process and while they employ integrated drying technology, the ink may not totally dry, cure or set when it exits the inkjet device. Printers which frequently jet heavy coverage ink onto coated and primed offset are more prone to build up as the ink sits higher on the media surface. The ink combination and thickness, or total area coverage (TAC), greatly affects the inks level of drying. In our post, Pigment Ink and Creme Brûlée, we discuss ink and how it can stay soft throughout the process. The combination of some inks, and the order they are printed, also has an effect on how well they dry. Heavy ink combinations printed on the first tower of a duplex unit will have more dry time than the ink printed on the second tower. Even if the ink feels dry to the touch, often it is still a bit soft below the surface allowing any ink build up on the rollers which can cause unwanted print defects shown in the sample below.

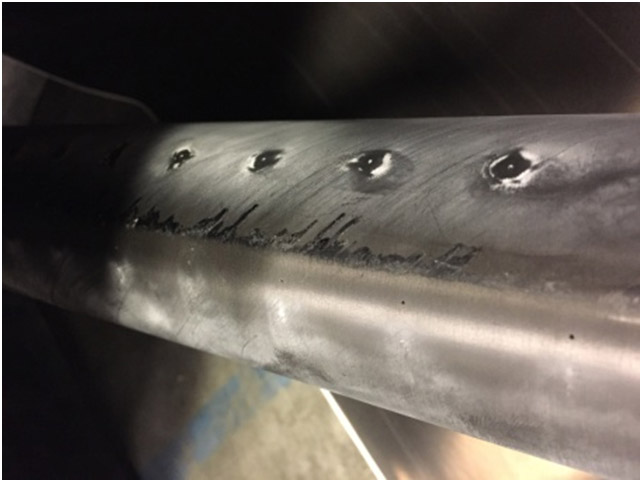
Both aqueous or UV inks can build up on the rollers within your equipment. Print defects such as indentions, picking, streaking and voids can occur throughout the print and finishing process. Finding where it is happening is important, but can become a tough and time consuming job. Regardless of whether you are printing roll to roll or direct to finishing, every step in the process needs to be evaluated. For example, Inkjet devices can have over 50 rollers which the paper touches as well as multitude of rollers found in finishing equipment. The ink build up can happen anywhere and if you are seeing print defects or ink voids, it’s time to investigate.
Create a Test File
Some ink colors or combinations may stay soft and pick when it comes in contact with rollers that already have ink build up. To test for this, create a solid image fill to print in duplex mode with single process colors in combinations of 100, 300 and 400% coverage. Run this file using the color profile and press settings (speeds and drying) that you typically use for production.
Evaluating During Production
Command a hard stop during the run (print or finishing equipment) to find where the defect begins. The point is to evaluate printed material all the way from the first print head to the rewind or the end of finishing, hard stopping the print within all devices allow the start point of the defect faster. When you determine defect start position, mark the start point and then advance the paper. Once the paper is at the end of the process and the web can be cut without needing re-web, evaluate each side of the printed paper.

Image shows defect happening on one side of media
Check to see if defects are impacting one or both sides of the paper. Based on this assessment, the position and machine location of rollers which have build up will be different.

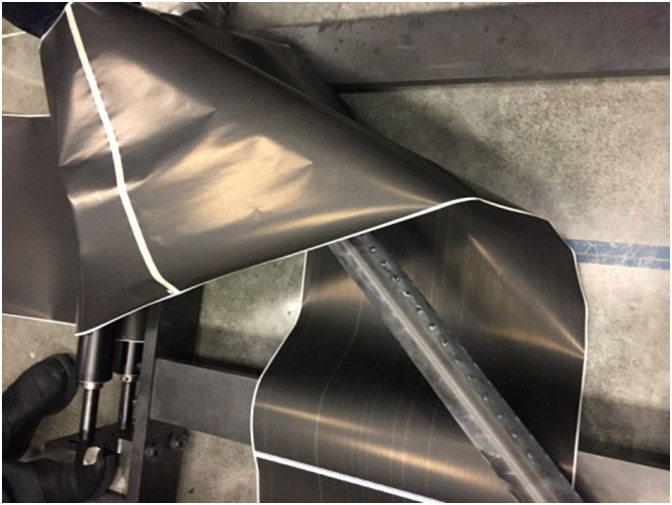
Image shows turn bar to rewind which are prone to build up
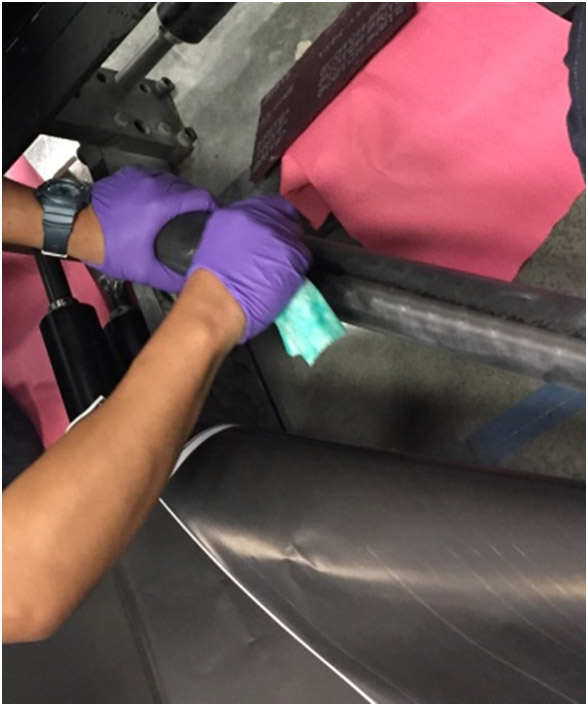
While you may have identified the primary source of the defects, chances are good that you may have build up with other rollers earlier in the process. It is a best practice to clean the rollers located directly before and after the roller(s) that were causing the defect. Run cheesecloth over the entire suspect rollers to evaluate build up as the cloth catches on even the slightest rough edges. Even the smallest area will continue to build and leave defects.

Inkjet Insight Can Help
Are you experiencing print defects from ink build up? Inkjet Insight specializes in evaluating inkjet processes and ink to media compatibility to determine the correct paper, ink, profile and press settings. We have experience in all inkjet technologies, from commercial to industrial applications and can help with test files and best practices to ensure your process runs smoothly.
Contact: Mary@InkjetInsight.com for more information
Or visit us at InkjetInsight.com for a complete list of our inkjet consultative services.
