My first encounter with the world of imposition was for an archaeology book. I was the typesetter on the project that documented a series of clearance surveys. The non-profit company I worked for managed the survey and produced the book that filled over 300 pages of text and graphic content in an 8” by 10” format. The plan had been to deliver the rolls of typeset pages to the print company where they would cut the rolls apart and reassemble to their needs. A series of illnesses and internal staff issues arose, and they offered a discount if we would do the work and deliver to them the assembled pages for a deep discount. Yes, this was a job intended to print using a large, sheetfed offset press.
We had an instruction brief from the printing company and a large drafting table. We cut big kraft paper sheets to the sheet size we needed and began working out the imposition. Ultimately, we cut the rolls of typeset content apart and taped them together so that we had the recto and verso sides needed, all why listening to the newly released Pina Colada song (1979). We carefully rolled it up, put it in the back of a truck and got it to the printing company. They had to correct a couple of bobbles, but they were able to shoot the film, make the plate and get us onto the press so that we had the books available to see at a fundraising event. My hope was that I would never hear the word imposition again.

Some years later imposition, ganging and nesting were again part of my daily vocabulary, but this time there was software to help. Instead of a giant drafting table and tape, software that ensured the correct page arrangements and handled those subtle changes needed to accommodate different binding styles arrived! Impostrip from Ultimate TechnoGraphics began shipping in 1989 as the spear-carrier. Many companies and solutions followed, all adding new options, configurations, and levels of automation designed to use computing power to reduce (if not eliminate) imposition errors.
Depending on your digital device, you might need 4-up impositions or 8-up impositions – the imposition requirements are based on the page size, how many pages fit on a sheet, and the type of binding. This is where the software can be very helpful. Most imposition software can help you optimize the number of pages per sheet and the number of sheets needed to complete the project. A virtual sheet can be produced on a roll and cut to flow into the rest of the finishing process, or it may be attached to an inline system that handles the integration of the cover and binds the book.
The best part of imposition today is that it is getting smarter. Machine Learning and Artificial Intelligence have brought more options to the most popular products, making it easier to create complex impositions. There are options for imposition as part of the prepress process, and even on the DFE. For commercial printing and complex direct mail projects you may want a dedicated imposition solution. Look at:
- Ultimate TechnoGraphics Impostrip
- Tilia Labs Phoenix
- PerfectPattern
- OneVision Speedflow
- InSoft
For transaction shops, remember that your document re-engineering solutions, like Rubika from Solimar or Sefas, can also handle most imposition needs.
In addition to imposition tools, there are two other techniques you may find useful: Nesting and Ganging.
Nesting is the technique of placing content on the sheet or across the roll to maximize the use of the available imaging area. Commonly used with labels and print that will be cut down to specific shapes, it takes content blocks (text, graphic, image) and arranges the blocks to maximize the use of the available print area. Content blocks can be set in the same orientation or in a variety of orientations but consider two things as you are making decisions. In the world of inkjet printing your device may not jet symmetrically. If you have some images oriented left to right and others top to bottom, you may notice differences in the printed image. You may also notice imaging differences due to the grain of the paper.
Let’s add one more consideration. If the nested images come from different color profiles, different levels of saturation, and different hues, there is a possibility of ghosting, ink transference, or other anomalies appearing in the print. The moral to the story is that nesting can be a valuable option, but always test to ensure that the nesting is appropriate and still produces the great print quality you normally achieve.

Nesting
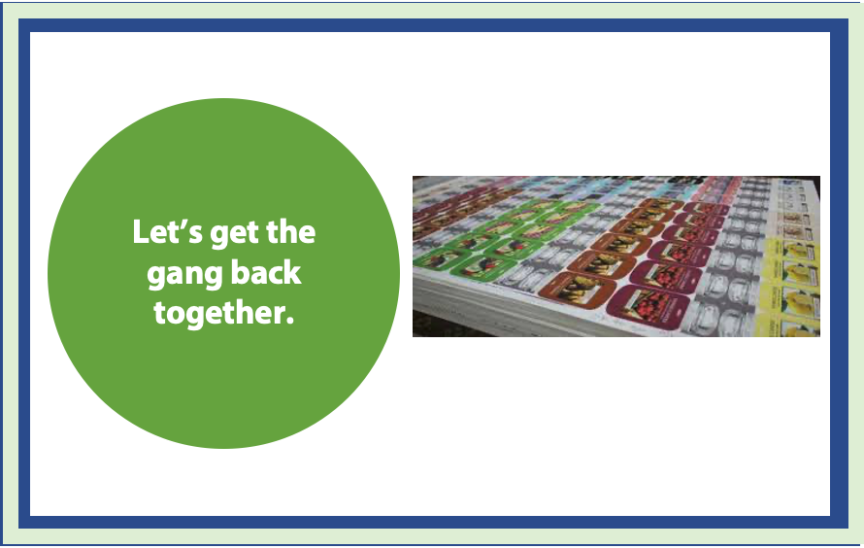
A variation of the nesting story is ganging. Ganging techniques are used to create a print job that contains content for more than one project. For example, you may have business card jobs from five or six companies that use the same stock. Or, you may have jobs that contain different types of components – business cards, door hangers, tri-fold brochures – but share the same stock. Combining the jobs and running them as a single file saves startup cost, reduces waste, and makes finishing more efficient. This is a technique that was born in analog printing, but it can make sense in developing digital print runs. Like nesting, ganging is often found in label and packaging production, but it is always an option. And, as with nesting, it will be worth testing to ensure you don’t have ghosting, transference, or image anomalies related to the orientation of the content on the substrate. The same packages mentioned above have modules to support setting up gang run jobs.

Gang Run Label Printing (Image: fda.gov)
Why are these techniques important in an inkjet printshop? They give you options. Whether you have a roll-fed or sheetfed device, your goal is wringing every ounce of efficiency from your investment. As you look at job schedules and the work, consider how imposition, nesting and ganging might add efficiency to the work you produce!
If you’ve created a workflow that you’d like to share, let’s have a chat! Remember, there are a million questions in inkjet city! Have questions? Get in touch.

